How to: Sharpening on a TSPROF sharpening system
Sharpening on a sharpening system is easy once you know how it works, but sometimes a little explanation is needed. In this how-to guide, we explain how the TSPROF sharpening system works and how you can get your knives back to their razor-sharp best!
Step 1: do you have the right knife and the right accessories?
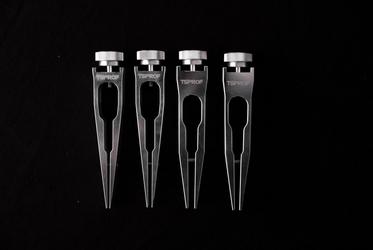
Before you start sharpening, it's useful to know whether you have the right clamp for your knife. The first question if you're using the TSPROF K03 and Kadet- sharpening system: are you going to sharpen a pocket knife? Then use the single clamp. Are you going to sharpen a kitchen knife? Then use the double clamp. The double clamp prevents the blade from bending and keeps the sharpening angle consistent, even with long and flexible blades. In addition to the normal clamps, you also have the option of 'fillet' clamps. These are extra thin clamps that allow you to sharpen at a very small sharpening angle. The TSPROF Blitz sharpening system is less complicated. This uses two model-specific clamps as standard.
Step 2: clamping the knife
Clamping the blade is a piece of cake. You open the clamp by loosening the 4 mm Allen screws. Place the blade in the centre, but not too deep in the clamp. Make sure the knife's edge protrudes far enough so that the sharpening stone touches the edge and not the clamp.
Tip: stick some masking tape on both sides of the blade to prevent scratches. A big advantage of TSPROF sharpening systems is that once you've clamped the blade, you don't have to unclamp it again until you have finished sharpening. To sharpen the other side of the blade, turn the knife while it is still in the clamp. How this works differs for each sharpening system.
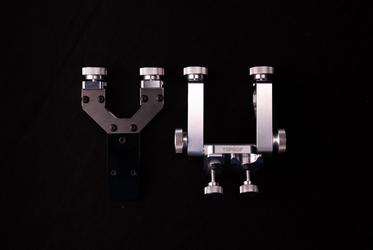
Do you have a knife with a convex grind? Not a problem! TSPROF has a Convex Adapter 7.2 degrees as well as a Convex Adapter 4.3, 7.2 and 10.7 degrees. A Convex Mini Attachment is available for the Blitz or Kadet sharpening system.
Step 3: determine and set the sharpening angle
When it comes to sharpening angle, we are talking about two different things. Determining the sharpening angle of the knife, and setting the sharpening angle on the sharpening system.
Determining the sharpening angle
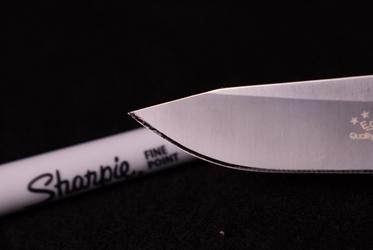
Suppliers will usually give an indication of the sharpening angle of a knife. If you don't know the sharpening angle of your knife, don't worry. Firstly, the advantage of a TSPROF sharpening system is that you can choose the sharpening angle yourself and you can give the knife that sharpening angle. If you want to sharpen the knife at its existing sharpening angle, you can use the pen trick to find out the knife's sharpening angle. Watch this video to see how the pen trick works and read more about the sense and the nonsense of sharpening angles.
Setting the sharpening angle
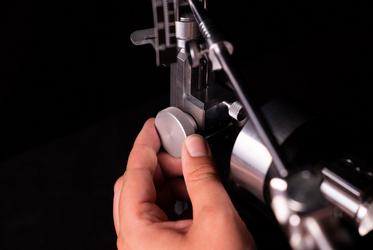
Setting the angle is virtually the same for the various TSPROF sharpening systems. You set the sharpening angle by using the knob on the side of the sharpening system. An analogue protractor shows the approximate angle at which you are sharpening. A more accurate way to read the sharpening angle on the sharpening system is with a digital protractor.
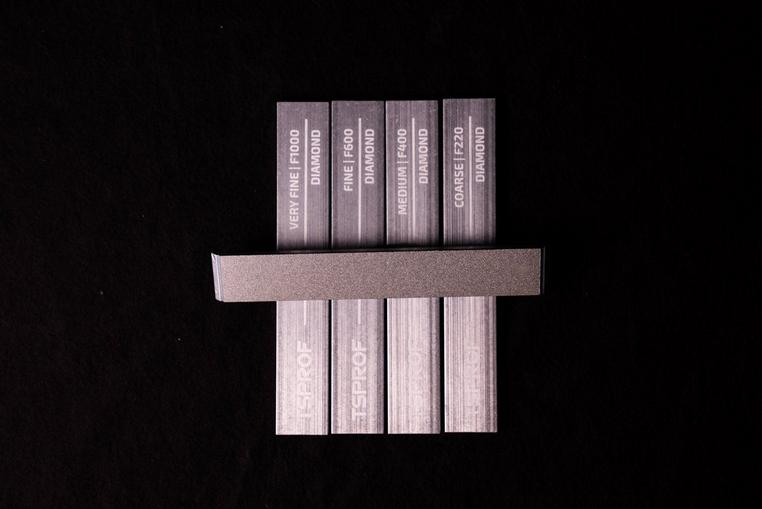
Step 4: choosing a sharpening stone
Once you've determined the right sharpening angle, it's time to see which sharpening stone you need. If you want to sharpen your knife at a new sharpening angle, always start with the coarsest sharpening stone. Sharpening at the existing angle works differently. This is because it isn't necessary to use a coarse sharpening stone if your knife is still reasonably sharp. A general rule of thumb: the blunter the knife, the coarser the stone (i.e. the lower the grit size) will need to be. In the following article you can read more about how to find out which grit size you need. Not sure whether you want to sharpen with ceramic stones or diamond stones? Read here to discover the advantages and disadvantages of the different sharpening stone materials.
Step 5: sharpening to the end
Once you've chosen the sharpening angle and sharpening stone, it's time to sharpen! Make long strokes and sharpen as evenly as possible along the entire edge. As soon as you feel a burr on the other side of the edge, turn the blade over and sharpen that side.
But when is the knife ready? A good question, and one which doesn't have an easy answer. How long you have to sharpen and the number of times you have to pass the sharpening stone over the edge depends on the bluntness of your knife, the type of steel used, the heat treatment of this steel and of course the grit size of the sharpening stone that you are sharpening with. What we can tell you is that you sharpen one side of the edge until you feel a burr on the other side of the edge. As soon as you feel a burr, it's time to turn the blade around and sharpen the other side of the edge. Try to sharpen both sides of the edge for approximately the same length of time.
Which stone do you end with? It isn't always necessary to end with the finest sharpening stone. Do you often use the knife to cut rope or cardboard? Then it's wiser not to sharpen the knife to a razor-sharp finish. An ultra-sharp knife quickly becomes dull again with these heavy-duty tasks. In those cases, it's fine to finish sharpening with a sharpening stone of around F600 or F1000 grit. Do you use the knife for light jobs like cutting meat or vegetables? Then you can safely sharpen the knife with a F1200 grit sharpening stone, for example. Are you really striving for a razor-sharp mirror finish? Then use a strop or an ultra-fine sharpening stone after the fine sharpening stones.
So. You are now fully aware of how to sharpen a knife with a TSPROF sharpening system! For all sharpening systems, accessories and other products, view the TSPROF sharpening systems!


